


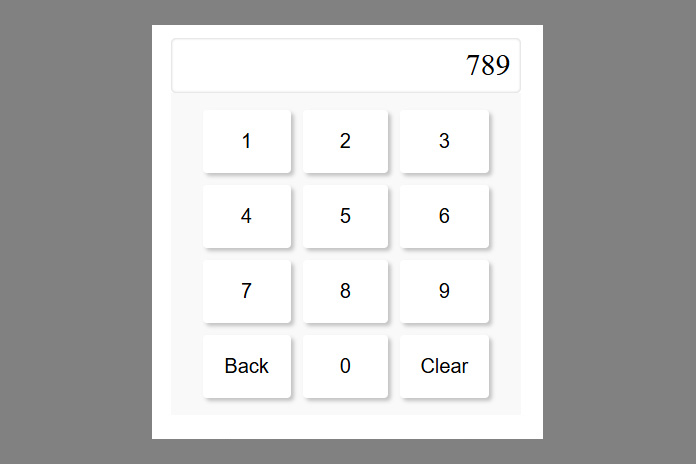
Creating a custom Interactive HTML Keypad UI is a great way to practice HTML, CSS, and JavaScript fundamentals. In this tutorial, we’ll walk through how to build a responsive, interactive keypad that lets users input numbers, delete entries, and clear the screen—just like a mini calculator interface.
HTML Markup
The structure uses a container for the screen display and a table for the buttons:
<div class="keypad-block">
  <div class="keypad-screen" id="keypad-screen"></div>
  <div class="keypad-buttons">
    <table cellpadding="5" width="300" align="center">
      <tbody>
        <tr>
          <td><button type="button" onclick="inputNumber(1)">1</button></td>
          <td><button type="button" onclick="inputNumber(2)">2</button></td>
          <td><button type="button" onclick="inputNumber(3)">3</button></td>
        </tr>
        <tr>
          <td><button type="button" onclick="inputNumber(4)">4</button></td>
          <td><button type="button" onclick="inputNumber(5)">5</button></td>
          <td><button type="button" onclick="inputNumber(6)">6</button></td>
        </tr>
        <tr>
          <td><button type="button" onclick="inputNumber(7)">7</button></td>
          <td><button type="button" onclick="inputNumber(8)">8</button></td>
          <td><button type="button" onclick="inputNumber(9)">9</button></td>
        </tr>
        <tr>
          <td><button type="button" onclick="removeBackNumber()">Back</button></td>
          <td><button type="button" onclick="inputNumber(0)">0</button></td>
          <td><button type="button" onclick="clearScreen()">Clear</button></td>
        </tr>
      </tbody>
    </table>
  </div>
</div>
Each triggers a JavaScript function to handle input, deletion, or screen clearing.
CSS Styling
A clean, modern look comes from subtle shadows and responsive sizing:
.keypad-block {
  width: 350px;
  margin: 0 auto;
}

.keypad-screen {
  background: #fff;
  padding: 10px;
  border-radius: 5px;
  box-shadow: inset 0 0 2px 1px rgba(0, 0, 0, 0.13);
  font-size: 30px;
  text-align: right;
  height: 55px;
}

.keypad-buttons {
  background: #f9f9f9;
  padding: 10px;
}

.keypad-buttons button {
  width: 100%;
  font-size: 20px;
  padding: 20px 10px;
  cursor: pointer;
  background: #fff;
  border: none;
  border-radius: 4px;
  box-shadow: 3px 3px 4px rgba(0, 0, 0, 0.22);
  transition-duration: 0.4s;
}

.keypad-buttons button:active {
  box-shadow: none;
  transform: translate(4px, 4px);
}
Key points:
- Use
box-shadowfor depth. - Maintain consistent padding and font sizes.
- Add
:activestate for button press feedback.
Javascript Logic
Our script handles three core actions:
// Append number or character
const inputNumber = (value) => {
  const screen = document.querySelector("#keypad-screen");
  if (screen.innerHTML.length > 21) {
    alert("Max limit reached!");
    return;
  }
  screen.innerHTML += value;
};

// Remove last digit
const removeBackNumber = () => {
  const screen = document.querySelector("#keypad-screen");
  const chars = screen.innerHTML.split("");
  chars.pop();
  screen.innerHTML = chars.join("");
};

// Clear entire screen
const clearScreen = () => {
  document.querySelector("#keypad-screen").innerHTML = "";
};
Breakdown:
inputNumber(value): safeguards a 22-character limit.removeBackNumber(): manipulates the screen’s string array.clearScreen(): empties the display.
Live Demo & Source
Check out the full working example and source code at:
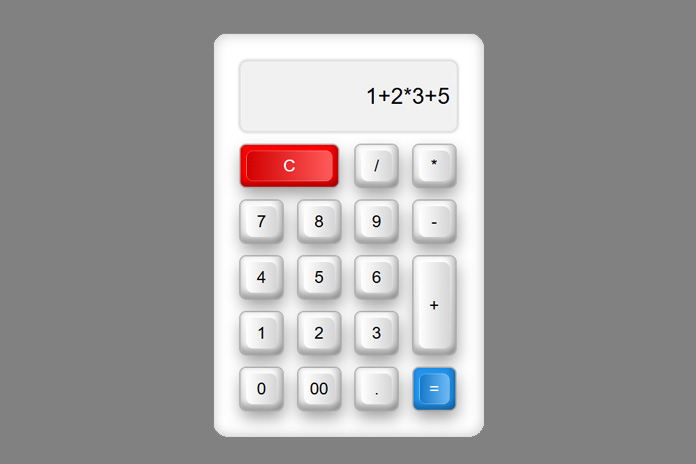
Feel free to fork, customize styles, or extend functionality (e.g., adding arithmetic operations).
🚀 Next Steps
- Enhance accessibility: add ARIA labels and keyboard support.
- Swap the
layout for CSS grid or flexbox for more flexibility. Integrate with a calculation engine to make it a full calculator.






0 comments