


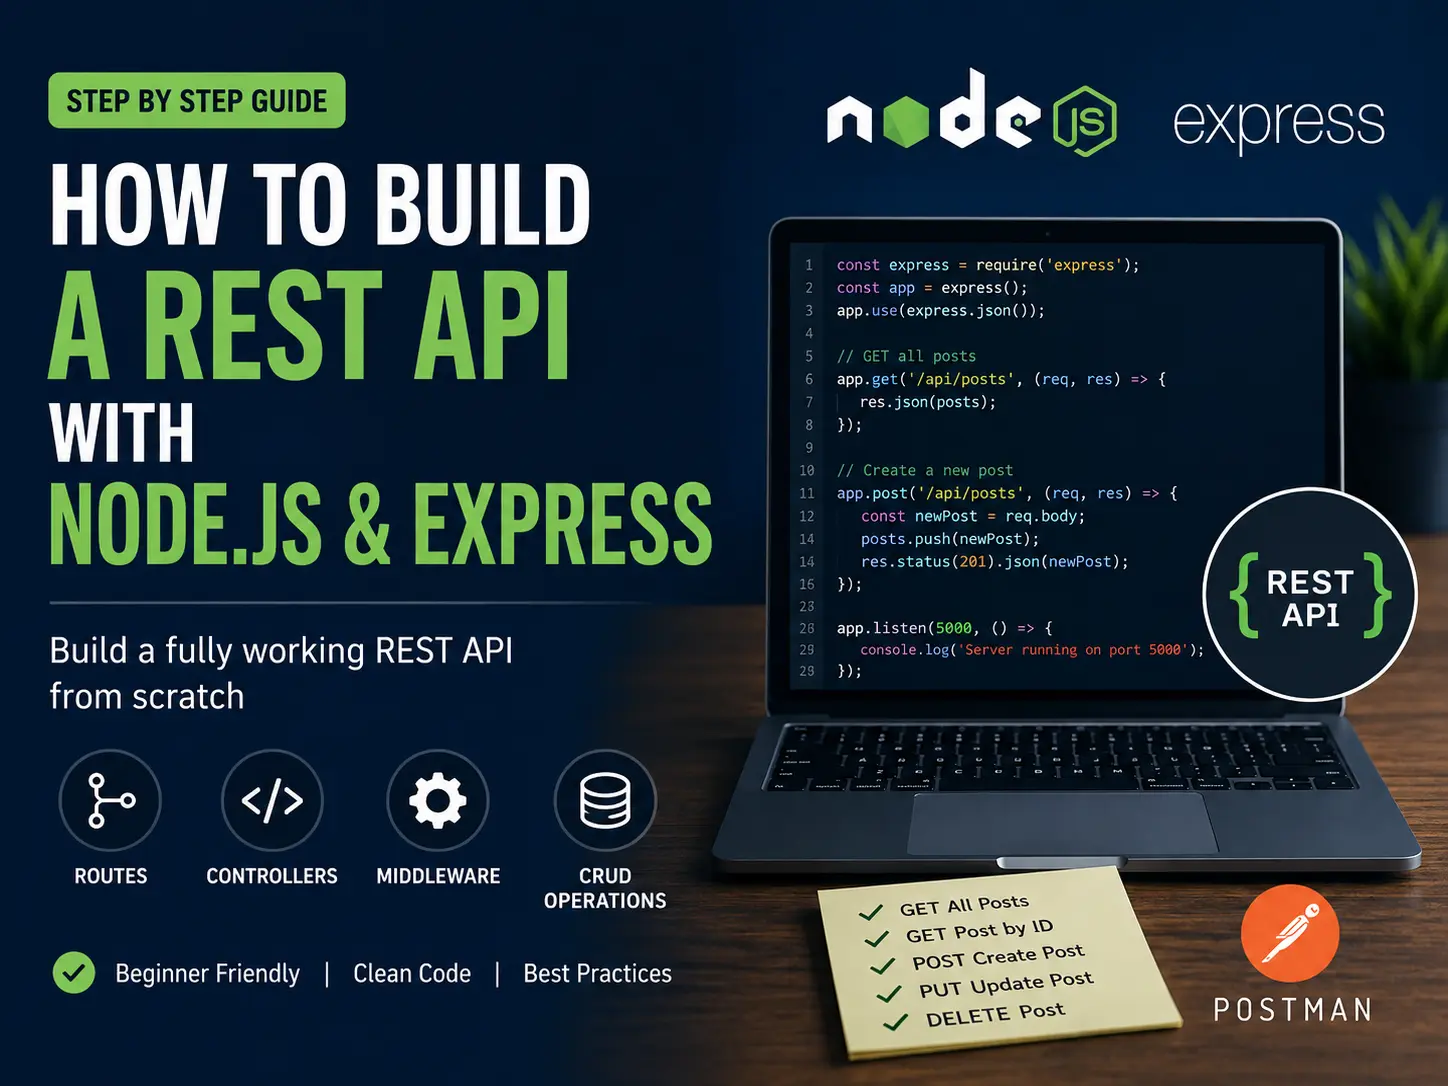
Every modern web application needs a backend. Whether you’re building a React dashboard, a mobile app, or a Next.js project — at some point, you need an API to handle data. And Node.js with Express is one of the fastest, simplest ways to build one.
In this guide, we’ll build a fully working REST API from scratch — covering routes, controllers, middleware, CRUD operations, and best practices. By the end, you’ll have a real API running locally that you can extend into any project.
What is a REST API?
A REST API (Representational State Transfer) is a way for two applications to communicate over HTTP. Your frontend sends a request — the API processes it and sends back a response, usually in JSON format.
Every REST API is built around four core operations, known as CRUD:
| Operation | HTTP Method | Example |
|---|---|---|
| Create | POST | Add a new user |
| Read | GET | Get all users / get one user |
| Update | PUT / PATCH | Update a user’s details |
| Delete | DELETE | Remove a user |
What We’ll Build
A simple Posts API — the kind you’d build for a blog, news app, or any content-driven project. It will support:
- GET all posts
- GET a single post by ID
- POST — create a new post
- PUT — update an existing post
- DELETE — remove a post
Prerequisites
- Node.js installed (nodejs.org)
- Basic JavaScript knowledge
- A code editor (VS Code recommended)
- Postman or Thunder Client to test your API
Step 1 — Project Setup
Create a new folder and initialise a Node.js project:
mkdir posts-api
cd posts-api
npm init -y
Install Express and a couple of helpful packages:
npm install express
npm install --save-dev nodemon
express is our web framework. nodemon automatically restarts the server when you save changes — a massive time saver during development.
Open package.json and add a dev script:
{
  "scripts": {
    "start": "node server.js",
    "dev": "nodemon server.js"
  }
}
Step 2 — Project Structure
A clean folder structure from the start saves headaches later. Here’s what we’ll build:
posts-api/
├── server.js          ← entry point
├── routes/
│   └── posts.js       ← route definitions
├── controllers/
│   └── postsController.js  ← business logic
├── middleware/
│   └── logger.js      ← custom middleware
└── data/
    └── posts.js       ← mock data (no DB needed)
Step 3 — Mock Data
We’ll use in-memory data instead of a database to keep things simple. Create data/posts.js:
// data/posts.js
let posts = [
  {
    id: 1,
    title: "Getting Started with Node.js",
    body: "Node.js is a JavaScript runtime built on Chrome's V8 engine.",
    author: "Dev Kumar",
    createdAt: "2026-01-01"
  },
  {
    id: 2,
    title: "Understanding REST APIs",
    body: "REST APIs use HTTP methods to perform CRUD operations on resources.",
    author: "Dev Kumar",
    createdAt: "2026-01-15"
  },
  {
    id: 3,
    title: "Express.js Crash Course",
    body: "Express is a minimal Node.js web framework for building APIs fast.",
    author: "Dev Kumar",
    createdAt: "2026-02-01"
  }
];

module.exports = posts;
Step 4 — Create the Express Server
Create server.js — the entry point of the entire application:
// server.js
const express = require('express');
const postsRouter = require('./routes/posts');
const logger = require('./middleware/logger');

const app = express();
const PORT = process.env.PORT || 5000;

// Built-in middleware — parse incoming JSON
app.use(express.json());

// Custom middleware — log every request
app.use(logger);

// Routes
app.use('/api/posts', postsRouter);

// Root route
app.get('/', (req, res) => {
  res.json({ message: 'Posts API is running 🚀' });
});

// 404 handler
app.use((req, res) => {
  res.status(404).json({ error: 'Route not found' });
});

// Start server
app.listen(PORT, () => {
  console.log(`Server running on http://localhost:${PORT}`);
});
Step 5 — Custom Middleware
Middleware is a function that runs between the request and the response. Create middleware/logger.js:
// middleware/logger.js
const logger = (req, res, next) => {
  const now = new Date().toISOString();
  console.log(`[${now}] ${req.method} ${req.url}`);
  next(); // pass control to the next middleware or route
};

module.exports = logger;
Now every request will be logged to the console — great for debugging. The next() call is critical — without it, the request gets stuck and never reaches your routes.
Step 6 — Controllers
Controllers hold the actual business logic for each route. Separating them from routes keeps your code clean and testable. Create controllers/postsController.js:
// controllers/postsController.js
const posts = require('../data/posts');

// @desc  Get all posts
// @route GET /api/posts
const getAllPosts = (req, res) => {
  res.status(200).json({
    success: true,
    count: posts.length,
    data: posts
  });
};

// @desc  Get single post
// @route GET /api/posts/:id
const getPostById = (req, res) => {
  const post = posts.find(p => p.id === parseInt(req.params.id));

  if (!post) {
    return res.status(404).json({ success: false, error: 'Post not found' });
  }

  res.status(200).json({ success: true, data: post });
};

// @desc  Create a post
// @route POST /api/posts
const createPost = (req, res) => {
  const { title, body, author } = req.body;

  if (!title || !body || !author) {
    return res.status(400).json({
      success: false,
      error: 'Please provide title, body, and author'
    });
  }

  const newPost = {
    id: posts.length + 1,
    title,
    body,
    author,
    createdAt: new Date().toISOString().split('T')[0]
  };

  posts.push(newPost);

  res.status(201).json({ success: true, data: newPost });
};

// @desc  Update a post
// @route PUT /api/posts/:id
const updatePost = (req, res) => {
  const post = posts.find(p => p.id === parseInt(req.params.id));

  if (!post) {
    return res.status(404).json({ success: false, error: 'Post not found' });
  }

  const { title, body, author } = req.body;
  if (title) post.title = title;
  if (body) post.body = body;
  if (author) post.author = author;

  res.status(200).json({ success: true, data: post });
};

// @desc  Delete a post
// @route DELETE /api/posts/:id
const deletePost = (req, res) => {
  const index = posts.findIndex(p => p.id === parseInt(req.params.id));

  if (index === -1) {
    return res.status(404).json({ success: false, error: 'Post not found' });
  }

  posts.splice(index, 1);

  res.status(200).json({ success: true, message: 'Post deleted successfully' });
};

module.exports = {
  getAllPosts,
  getPostById,
  createPost,
  updatePost,
  deletePost
};
Step 7 — Routes
Routes define the URL structure and connect each endpoint to its controller. Create routes/posts.js:
// routes/posts.js
const express = require('express');
const router = express.Router();
const {
  getAllPosts,
  getPostById,
  createPost,
  updatePost,
  deletePost
} = require('../controllers/postsController');

router.get('/', getAllPosts);          // GET  /api/posts
router.get('/:id', getPostById);      // GET  /api/posts/:id
router.post('/', createPost);         // POST /api/posts
router.put('/:id', updatePost);       // PUT  /api/posts/:id
router.delete('/:id', deletePost);    // DELETE /api/posts/:id

module.exports = router;
Notice how clean this looks — the routes file only defines endpoints. All the logic lives in the controller.
Step 8 — Run and Test the API
Start the development server:
npm run devYou should see: Server running on http://localhost:5000
Now test each endpoint using Postman or Thunder Client:
GET all posts
GET http://localhost:5000/api/postsGET a single post
GET http://localhost:5000/api/posts/1CREATE a new post
POST http://localhost:5000/api/posts
Content-Type: application/json

{
  "title": "My New Post",
  "body": "This is the post content.",
  "author": "Dev Kumar"
}
UPDATE a post
PUT http://localhost:5000/api/posts/1
Content-Type: application/json

{
  "title": "Updated Post Title"
}
DELETE a post
DELETE http://localhost:5000/api/posts/1API Response Structure — Best Practices
Notice every response in this API follows a consistent structure:
// Success response
{
  "success": true,
  "data": { ... }
}

// Error response
{
  "success": false,
  "error": "Descriptive error message"
}
Consistent response shapes make your API predictable and much easier for frontend developers to work with. Always include a success boolean, use proper HTTP status codes, and return meaningful error messages.
HTTP Status Codes — Quick Reference
| Code | Meaning | When to use |
|---|---|---|
| 200 | OK | Successful GET, PUT, DELETE |
| 201 | Created | Successful POST (new resource created) |
| 400 | Bad Request | Missing or invalid input from client |
| 401 | Unauthorized | Authentication required |
| 403 | Forbidden | Authenticated but not allowed |
| 404 | Not Found | Resource doesn’t exist |
| 500 | Server Error | Unexpected error on the server |
What’s Next — Taking it Further
This API uses in-memory data — it resets every time you restart the server. Here’s how to level it up for real projects:
- Add a database — connect MongoDB with Mongoose, or PostgreSQL with Prisma
- Add authentication — implement JWT (JSON Web Tokens) for protected routes
- Add validation — use
express-validatororJoifor robust input validation - Add environment variables — use
dotenvto manage secrets and config - Add rate limiting — use
express-rate-limitto prevent abuse - Deploy it — host on Railway, Render, or any Node.js-compatible platform
# Install dotenv for environment variables
npm install dotenv

# Install mongoose for MongoDB
npm install mongoose

# Install express-validator for input validation
npm install express-validator
Final Thoughts
Building a REST API with Node.js and Express is one of the most valuable backend skills you can develop as a web developer. The pattern you’ve learned here — server → middleware → routes → controllers — scales to production-level applications used by millions of users.
Once you’re comfortable with this structure, connecting a real database like MongoDB is a small step, and adding authentication on top of that is another. Each piece builds naturally on the last.
If you’re managing your project with Git (which you should be), check out the Git commands every developer must know guide on this blog. And if you’re building a React frontend to consume this API, the React Hooks guide covers exactly how to fetch and handle API data with useEffect.
Happy coding! 🚀





0 comments